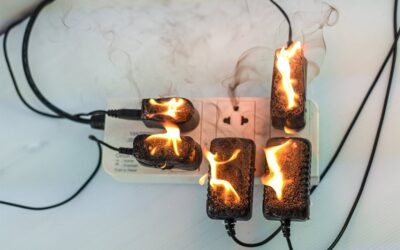
Are you struggling to research how to wire a light switch in Australia? The answer to that is simple and for a fundamental reason: because you’re not allowed to. Even if you’re an experienced, handy and enthusiastic do-it-yourself-er, electrical work like that all across our country is strictly forbidden for anything other than a fully licensed sparkie.
But before you say “boo!”, it’s important to understand the motivation behind those laws – namely, that light switch wiring is one of easiest ways imaginable for something tiny to go wrong that could cost you or your family their lives. And even if you do get away with it, you may just have voided your home insurance by playing electrician for a day. So, believe us: wiring a light switch the DIY way is always a bad idea, no matter how you look at it. Instead, call an electrician to take care of your home lighting solutions.
With that all said, we understand all too well that some of you are simply the kind of people who love to know how things work – and how things are done. So let’s start, here’s how to wire a light switch:
Required Tools for Installation
When it comes to wiring a light switch, professionals come equipped with the right tools to ensure the job is done safely and correctly. While you may not need to worry about gathering these tools yourself, it’s helpful to know what a qualified electrician typically uses. Here’s a list of tools commonly required for wiring a light switch:
- Screwdriver set
A good screwdriver set is crucial for removing and reattaching the switch cover and securing everything back in place.
- Wire strippers
These handy tools help strip insulation from the wires, ensuring proper connections can be made without damaging the wire itself.
- Voltage tester
Doing the job safely is key! A voltage tester will ensure there’s confirm that the power is off before any work begins, ensuring that the area is safe to handle.
- Needle-nose pliers
These are handy for manipulating small wires, especially in tight spaces inside the switch box.
- Electrical tape
Electrical tape is important for insulating and securing wire connections to prevent any potential hazards.
- Wire nuts
These are crucial for connecting and securing the exposed wires after they’ve been twisted together.
- Drill or screw gun
Depending on the installation, you might need a drill or screw gun for mounting the switch or making adjustments to the electrical box.
These tools help ensure that the wiring process is completed safely and effectively, complying with all local regulations and standards.
Safety Precautions
Before we jump into wiring a light switch, let’s get one thing straight: if you think “current events” refers to electrical work, it might be time to brush up on your safety precautions!
Here are essential safety precautions professionals follow to protect themselves and the integrity of the home during electrical work:
1. Turning off the power
This is non-negotiable. The first and most critical step is to ensure that the power is turned off at the meter box. Not only does this help prevent accidental shocks, but it also protects both the tools and the wiring during the installation process.
2. Using a voltage tester
Even after turning off the power, professionals always use a voltage tester to double-check that no current is flowing to the switch. (it’s an essential tool for a reason). This extra step is crucial for avoiding any unexpected surprises and ensures a safe working environment.
3. Wearing safety gear
When dealing with electricals it’s important to protect your eyes with safety goggles and wear rubber-soled shoes to provide insulation. Wearing the appropriate gear helps mitigate risks, ensuring that even if something goes awry, the professional is safeguarded.
4. Avoiding wet conditions
It’s imperative to work in a dry environment. Water and electricity are a dangerous combination, so professionals ensure the workspace is free from any moisture before beginning work.
5. Keeping the workspace organized
A cluttered workspace can lead to accidents. A well-organized workspace is vital for safety. Professionals keep tools and materials neatly arranged to prevent tripping hazards and maintain efficiency throughout the installation process.
6. Taking Time and Avoiding Rushing
Rushing through the installation can lead to mistakes, which can be dangerous. Professionals take their time, focusing on each step methodically to ensure everything is done correctly. Doing the job right the first time saves time and trouble in the long run.
By adhering to these safety precautions, professionals create a secure environment for themselves while working on light switch installations. Remember, safety is paramount in electrical work, and there are no shortcuts when it comes to protecting both yourself and the home.
How To Wire Your Light Switch

1. Turn off the power
It’s an essential precaution when doing just about all electrical work. The power is turned off at the meter box.
2. Open the switch cover
It’s simple to open with a screwdriver or other basic tool. But before proceeding, test for current flow so you know you’re not about to get a ‘zap’.
3. Remove the switch
Knowing that no live electricity is present, detach the switch from the wires. Do you see any faults or damage? If not, proceed.
4. Check the end-wires
This is necessary so you know the end wires that are already exposed are long enough for the new switch. If not, you’ll need to strip the insulation as necessary.
5. Connect the wires
It’s time to connect the wires to the new switch. Make sure you understand the difference between Australia’s old wiring colour standards and the latest standards, ensure everything is matched up correctly, and lock it all together with the screws.
6. Secure the connection
In the case of exposed wires, make sure they are secured with a simple twist-on wire nut.
7. Mount the switch
Push the switch into the box cautiously and line everything up with the screw holes. Tighten the plate against the wall and re-attach the cover.
8. Turn the power back on
Go back over steps 1-7, and if everything was done correctly, turn the power back on.
Types Of Light Switches

You have several options when installing or replacing light switches in your home, depending on your needs. The most common and basic switch is a single-pole light switch. This standard light switch has two terminals and controls a light fixture from a single location. For electrical wiring, it requires a neutral and hot wire. A double-pole light switch has four terminals and controls light from two different locations. This two-way light switch allows you to turn the light on or off from one location to another.
Dimmer switches provide control over the brightness of the light. A dimmer switch allows you to adjust the light output rather than just having on/off functionality. Rotary and slider dimmer switches are the most common types for home use. Smart light switches can be controlled wirelessly and provide advanced features like setting schedules, automation, and remotely controlling your lights from an app.
The type of light switch determines the necessary electrical wiring and connections. Light switch plates come in a variety of styles and finishes to match your home’s décor.
Quality Components and Their Importance
When it comes to wiring a light switch, not all switches are made equal. Therefore, choosing high-quality components isn’t just about aesthetics; it’s crucial for both safety and longevity. Investing in quality materials will pay off in several significant capacities.
First and foremost, high-quality switches are designed to meet the stringent safety standards. They are made with the best materials that can withstand the wear and tear of daily use, reducing the risk of electrical malfunctions that could lead to fires or shocks. Investigating in better quality is critical for protecting your home and loved ones.
Cheaper switches might seem like a bargain, but they often lack the longevity and durability of their higher-quality counterparts. A well-constructed switch can last for years, whereas a low-cost option may fail prematurely, leading to frequent replacements and potential safety hazards.
Not only do quality components offer better durability and performance, they provide better conductivity and reliability. They help ensure consistent electrical flow, minimized flickering of lights or issues with your home’s electrical system. This reliable performance contributes to a more comfortable living environment.
Going with reputable manufacturers that often offer warranties on their products, can be a lifesaver, especially if something does go wrong. Certified components also adhere to industry standards, giving you peace of mind that your installation is safe.
Beyond safety and performance, high-quality switches come in various styles and finishes that can enhance the overall look and aesthetic of your home. Investing in better components can also increase your property’s value, making it more appealing to potential buyers.
Ultimately, prioritising quality is essential for a safe and lasting electrical system. By choosing high-quality components, you’re not only ensuring the safety of your home but also investing in its longevity and value.
Common Maintenance Practices
If you want your light switches to function efficiently and reliability, regular maintenance will help ensure they function correctly and safely over time. Check-ups can help you avoid common issues and prolong the lifespan of your electrical components. Here are some tips to keep your light switches in good working order for the long run.
1. Regular inspections
Periodically check your light switches for any signs of wear and tear. Look for discoloration, cracks, or any unusual heat coming from the switch. If you notice anything suspicious, it’s best to address it promptly to prevent any further issues. Regular inspections can help save you from a disaster.
2. Keep them clean:
With a busy house, it’s easy to forget to clean your light switches, but, dust and grime can accumulate over time, affecting their appearance and functionality. Using a dry cloth to gently wipe down the surface, is a safe and easy way to keep them clean. For the tougher stains, a slightly damp cloth can be used, but always ensure the switch is turned off before cleaning.
3. Avoid overloading:
Ensure that you’re not exceeding the switch’s load capacity. Each switch has a specific rating, and overloading it can lead to overheating or failure. If you find yourself constantly tripping breakers, it may be time to reevaluate your electrical setup.
4. Tighten connections:
Loose connections can lead to flickering lights or intermittent power. If you feel comfortable doing so, turn off the power and remove the switch cover to check for loose screws or wiring. If anything seems out of place its best to call a professional to get it assessed.
5. Replace worn switches promptly:
If a switch becomes stiff or fails to respond, it’s time for a replacement. Delaying this can lead to further complications or safety hazards. Remember, it’s better to be proactive about maintenance than reactive when an issue arises.
6. Test regularly:
As tedious as it may be, try and make it a habit to test your light switches occasionally. Turn them on and off a few times to ensure they are functioning smoothly. If you notice any irregularities, such as a delay in response or a buzzing sound, it’s a sign that something may be amiss.
By implementing these simple maintenance practices, you can help ensure your light switches operate safely and effectively. Regular attention will keep your electrical system in good condition and offer you peace of mind that things are functioning as they should.
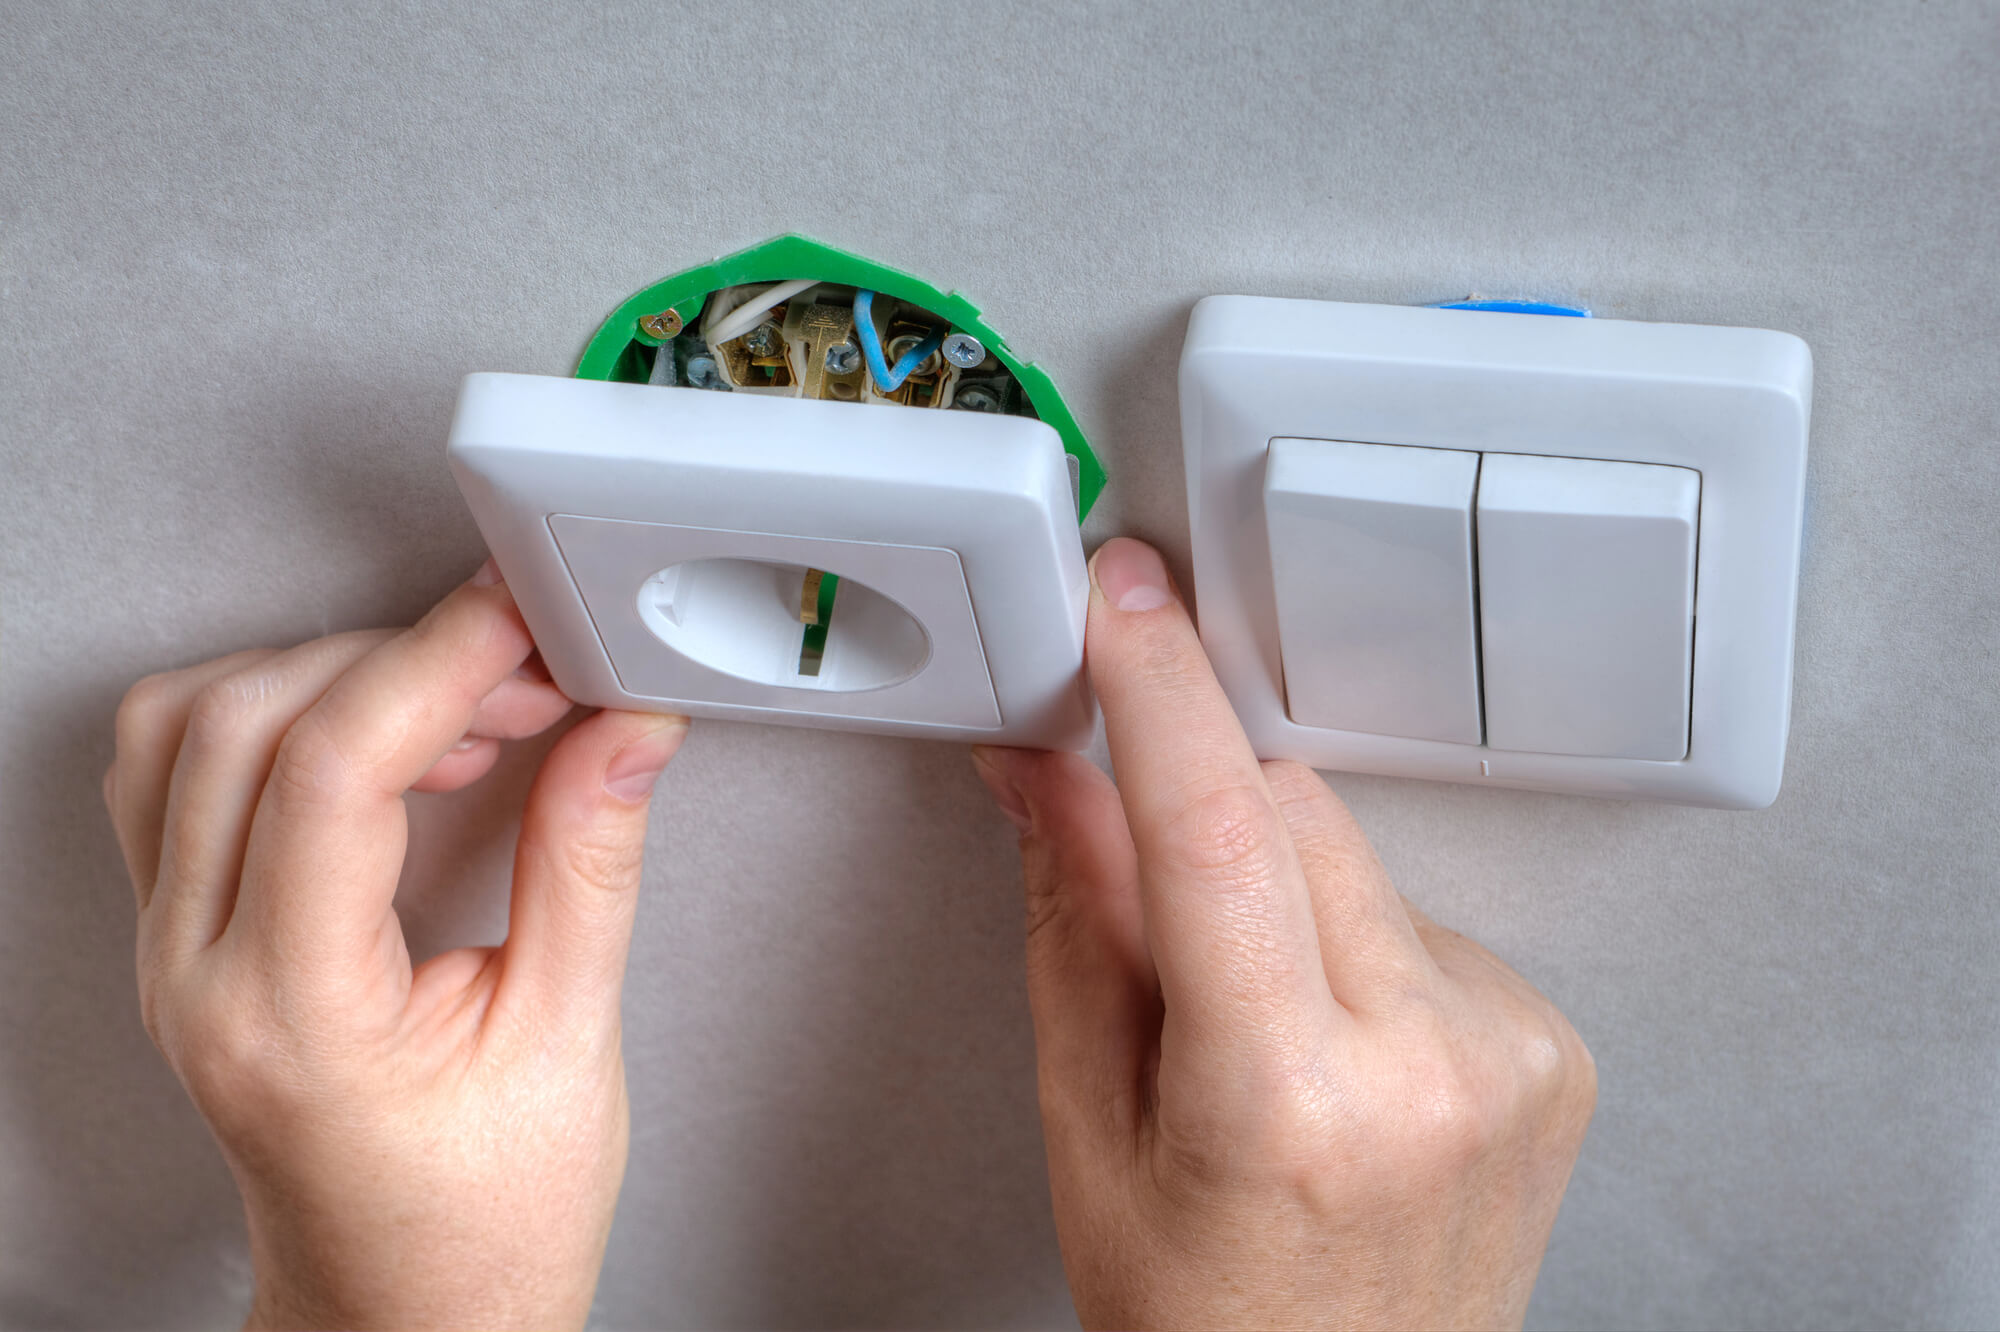
Wiring A Light Switch Is Easy When You Call Us!
So now that you know how to wire up a light switch, don’t forget: NEVER TRY TO DO IT! Only fully licensed electricians have the skills, the licensing, the right equipment and insurance, and the ability to certify the finished job – like the true pros at Your Electrical Expert! Drop us a message today for fast, same-day electrical services with a friendly smile every time.
Are you living in the Gold Coast suburbs and need a reliable electrician? We have you covered! Our team of electricians provides reliable and professional electrical services throughout the Gold Coast.